How to install Jupyter Lab on Ubuntu in 2024
Jupyter offers Jupyter Lab and Jupyter Notebook, both of which are web applications that offer interactive development environments for Python code and data science. This article will show you how to install Jupyter Lab on Ubuntu using either pip or conda.
Jupyter Lab vs Jupyter Notebook
We have two options to install Jupyter: Jupyter Lab and Jupyter Notebook. Jupyter Notebook is a classic Jupyter application with limited features, while Jupyter Lab is the modern version of the Notebook with additional advanced features that expand the Notebook functionalities. So, I recommend installing Jupyter Lab over Jupyter Notebook.
Why is Jupyter Lab better than Jupyter Notebook?
So, what are the main things that make the latest Jupyter Lab a considerably better tool than the traditional Jupyter Notebook? Here are some of the reasons why.
- Jupyter Lab supports multiple tabs and multiple types of files within one browser window
- Dragging items between the tabs is supported in Jupyter Lab
- We can drag Notebook cells up and down in Jupyter Lab but not in the classic Notebook
- CSV files are much easier and more performant to read in Jupyter Lab than in Jupyter Notebook. It also supports more rows than Excel.
- Jupyter Lab supports Python console for Notebook within its window
- Jupyter Lab supports markdown preview, which you cannot do in the Notebook.
Steps to install Jupyter Lab on Ubuntu
There are two ways to install Jupyter in Ubuntu. The first method is using pip and the second method is using conda.
Using Pip
Install pip3 and venv
sudo apt install python3-pip python3-venvGo to a project folder
mkdir project1
cd project1
Create and activate a Python environment
This will create a new Python virtual environment called “venv”. You can name your environment as you wish.
python3 -m venv venvInstall Jupyter Lab using pip
Finally, install Jupyterlab in the new environment.
pip install jupyterlabUsing conda
Download miniconda installer
sudo apt install wget
wget https://repo.anaconda.com/miniconda/Miniconda3-latest-Linux-x86_64.sh
Install miniconda
bash Miniconda3-latest-Linux-x86_64.shCreate a conda environment and install Jupyter Lab
This will create a new conda environment called “data_env”. You can name your environment as you wish.
conda create --name data_env -c conda-forge jupyterlabActivate the conda environment
We need to activate the conda environment before using it.
conda activate data_scienceGo to a project folder
mkdir projectA
cd projectA
Run Jupyterlab in the current project folder
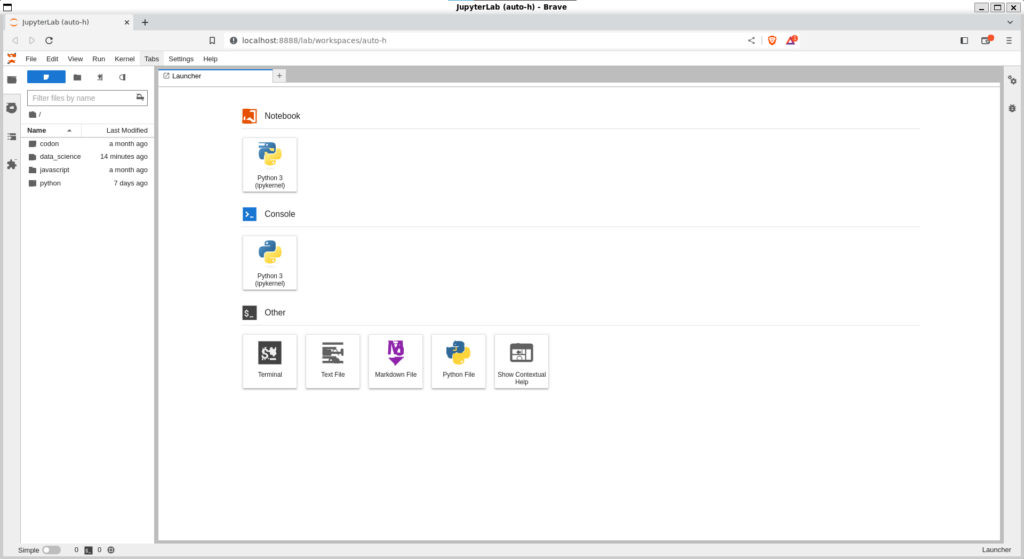
jupyter labThis will start and run the Jupyter Lab environment in a browser window.
Or, you can go to http://localhost:8888/ in your browser.
From there, you can create a new Jupyter Notebook under “Notebook > Python 3” and start working on your projects.
Conclusion
In this article, we learned the differences between Jupyter Lab and Jupyter Notebook and learned how to install Jupyter Lab on the latest Ubuntu.
Jupyter Lab is modern and better than the simple and classic Jupyter Notebook.
We can install Jupyter Lab using either pip or conda.
For additional helpful Conda commands, refer to this link.
If you have any questions or suggestions, fire them up in the comment section below. You can also read more articles on data science and machine learning.